Command Endpoint Template
The API Template guides developers down the path of implementing CQRS for REST based endpoints, as discussed in Introduction to CQRS
The command template is a great option if you want to add an additional command option to your endpoints. This template works in a similar fashion to the query Endpoint Template
The command template is also the best option if you want to create a Custom Method
To do so you can simply use
dotnet new command --name <name of your command> --output <Directory location to create> --resource <name of the resource>
Switches
--nameName of the Endpoint being created--outputthe output directory you would like to create--resourcethe name of the resource the command will be associated too--forceThis is an optional command which enables overwriting some or all of the folders associated with the command.
Example
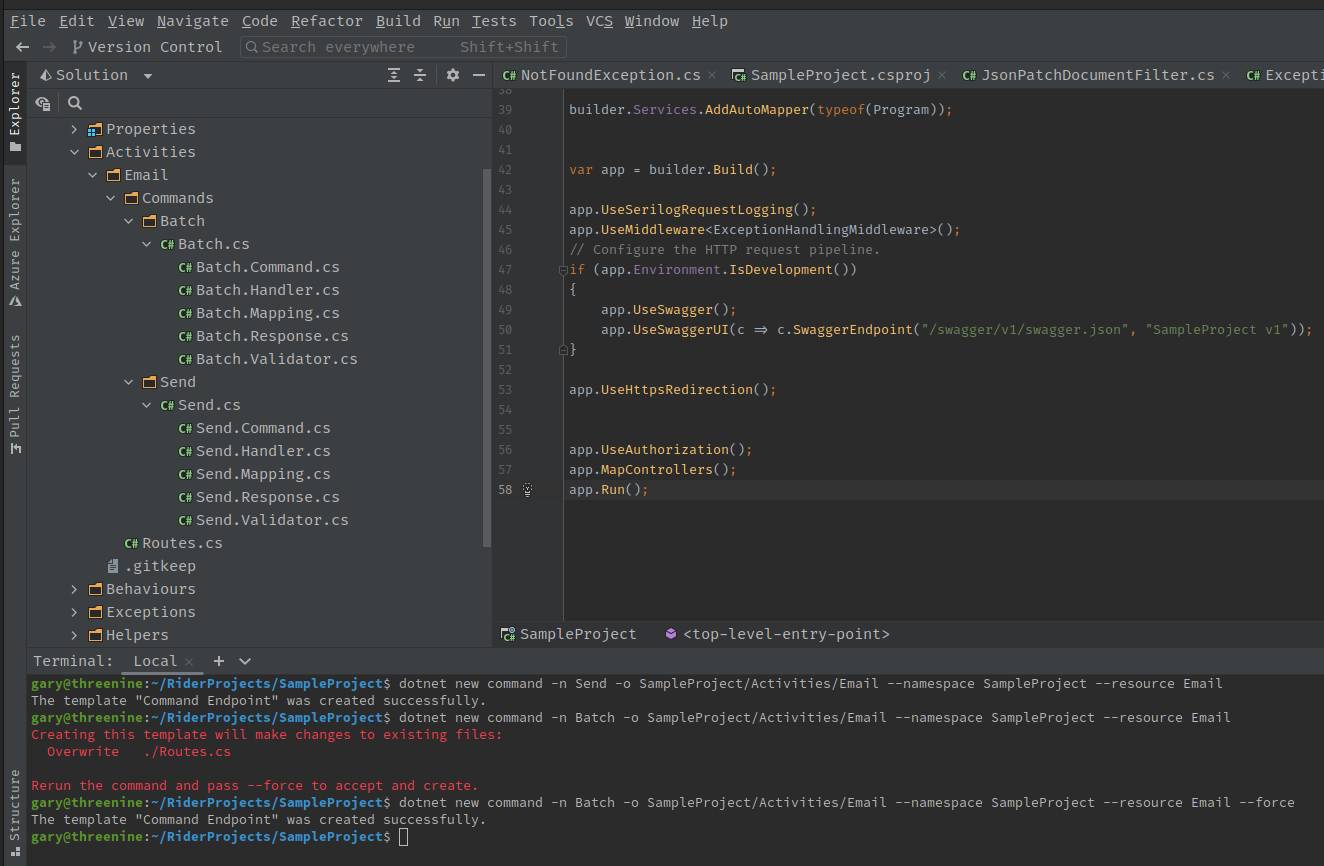
In this example we may want to create a Send endpoint for our Email resource in our REST API. In this Example, our Activities folder is empty and we would like to create the resource.
We can use the following command to generate our new endpoint on our Root Project directory
dotnet new command --name Send --output SampleProject/Activities/Email --resource Email
Which will result in a number of folders & files being created.
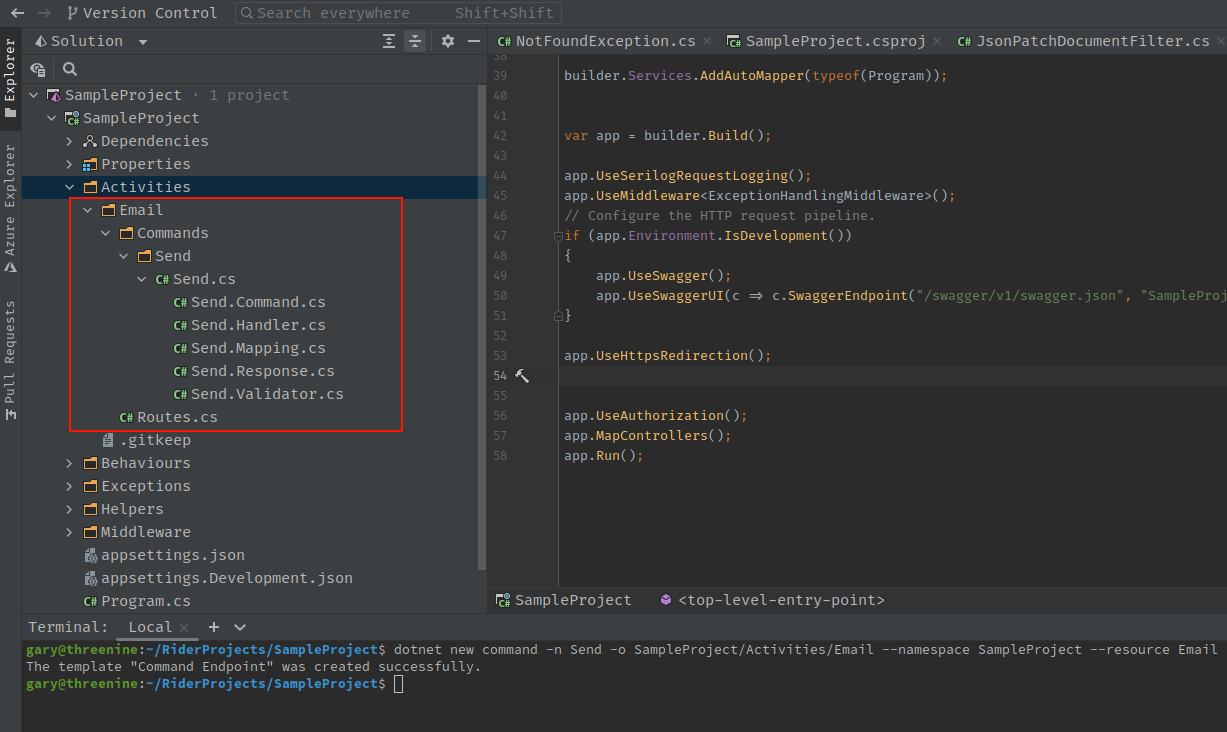
This will generate your Vertical Slice Endpoint with all the functionality.
It may be possible that you will need to create an additional end point, say for Batch sending of emails. This will require overwriting of the previously generated resource folder but will need the creation of new folders too. In this case we can make use of the --force switch which will help to overwrite some of common folders and create new ones too.
If you attempt to create the new endpoint without the --force switch you may experience an error informing you of the attempted overwriting of the ./Routes.cs

Using the
dotnet new command -n Batch -o SampleProject/Activities/Email --namespace SampleProject --resource Email --force
This will result in your new folder and files to being successfully created.